
Have you ever watched FPV (First Person View) drone footage and thought, “Wow, I wish I could do that”? Good news — you can! But instead of buying a prebuilt drone, why not take it a step further and build your own?
Building an FPV drone is one of the most rewarding projects you can dive into as a hobbyist. It's a perfect mix of engineering, creativity, and adrenaline — and once you see that thing take off for the first time, you’ll understand why people get obsessed.
Let’s break this down for you.
Why Should You Choose To Build Your Own FPV Drone?
While there are various, ready-to-fly drones available in the market, here are the reasons why you should choose to build your own:
-
Custom Performance: You can choose your own motors, flight controllers, camera quality, and power - everything tailored to how you fly.
-
Repairability: Crash? No big deal. You built it, you have the ability to fix it too.
-
Skill Building: You can easily understand how every part works, so you’re not left guessing when things go wrong.
-
Community: You can join the vibrant FPV culture. It is a mix of DIY builders, racers, filmmakers, and tinkerers who love sharing tips.
Also read: India’s drone revolution: Breaking barriers to take flight
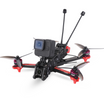
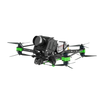
Essential FPV Drone Components (And What They Actually Do)
Before you get into soldering and screwing things together, you need to understand the gear.
Here’s what goes into a basic FPV drone setup:

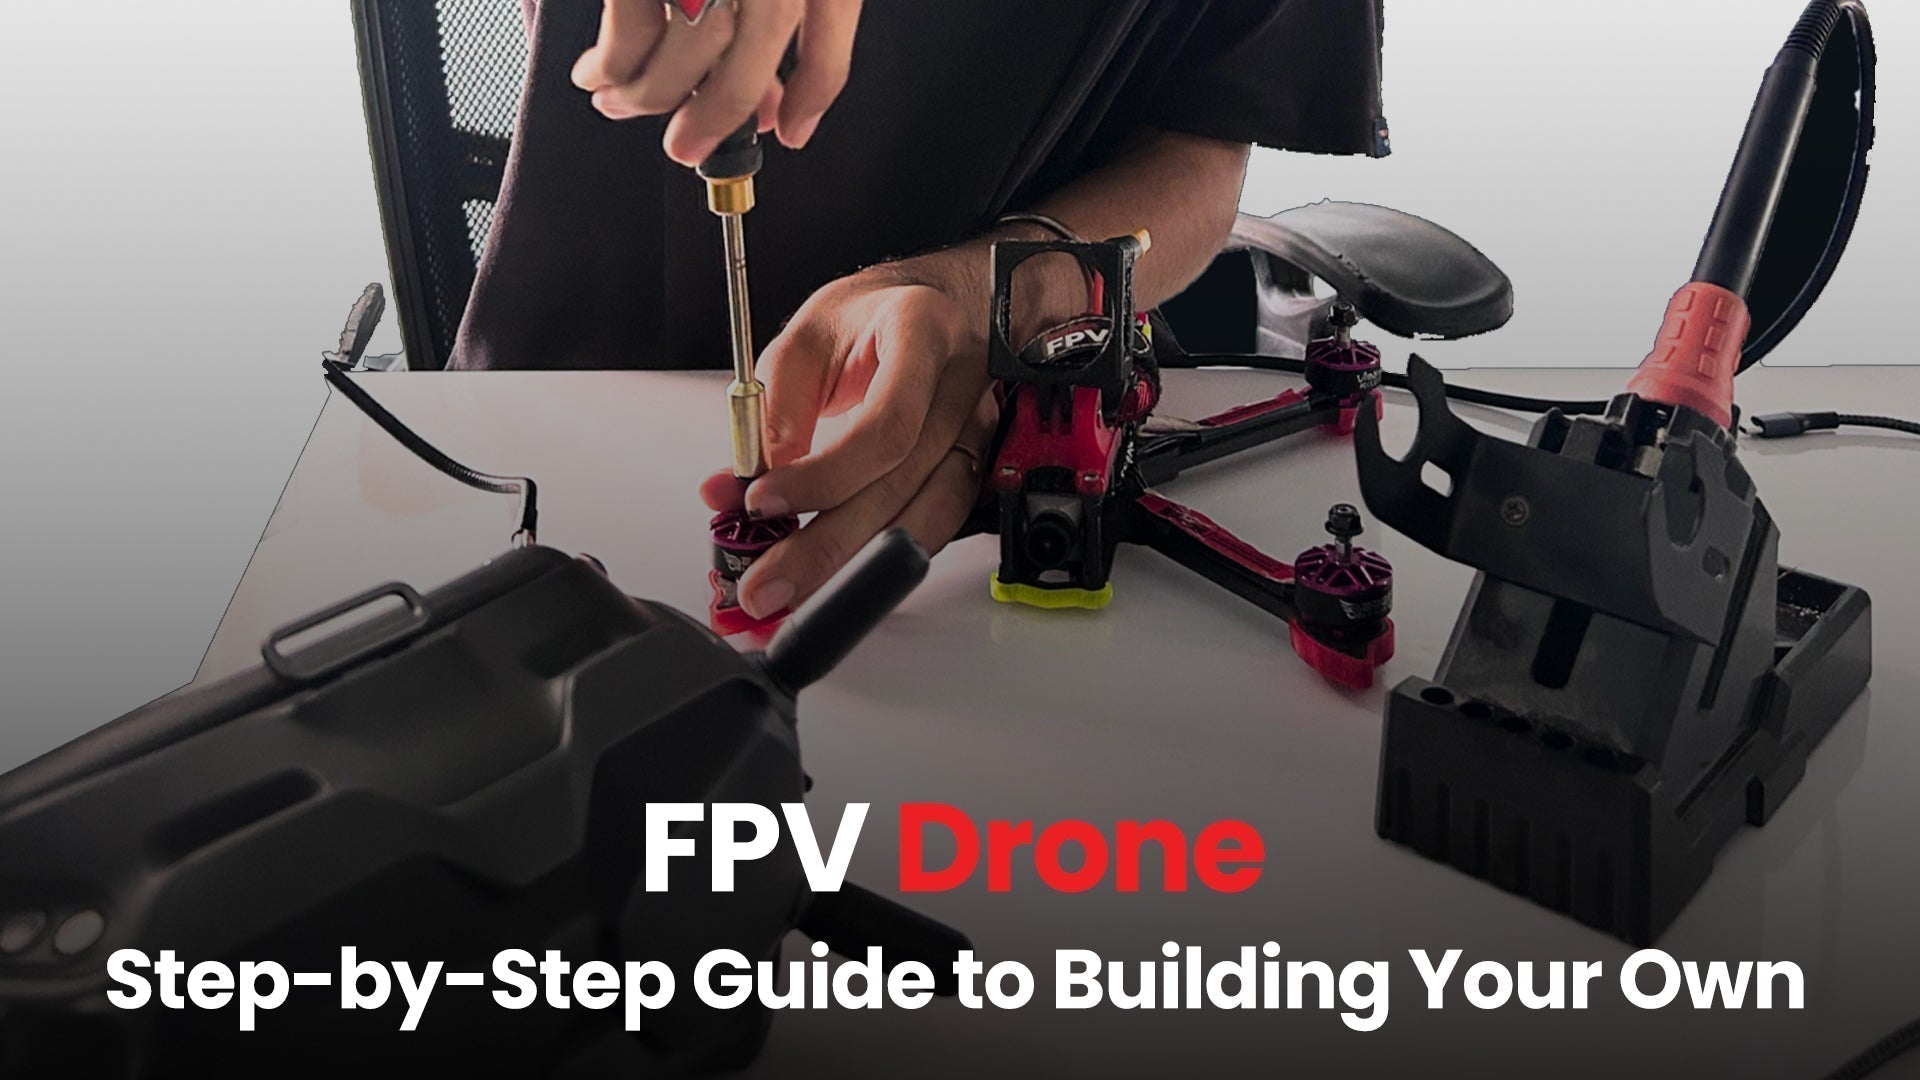
Step-by-Step Guide to Building Your Own FPV Drone
Let’s get our hands dirty (figuratively — but also literally, if you’re soldering). Here’s a general roadmap:
#1 Prep Your Workspace
Find a well-lit area, use an anti-static mat if possible, and have these tools handy:
-
Soldering iron
-
Hex drivers
-
Tweezers
-
Heat shrink tubing
-
Zip ties
-
Multimeter (for safety checks)
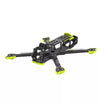
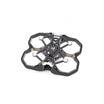
#2 Build the Frame
Assemble the frame first. This is usually easy — just follow the manufacturer’s diagram. Make sure everything is tight but don’t over tighten screws on carbon fiber, or you’ll strip them.
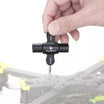
#3 Install the Motors
Mount the motors using the screws provided. Pay attention to motor direction: two should spin clockwise (CW), and the other two counter-clockwise (CCW). Don’t worry — you can reverse them in software later if needed.
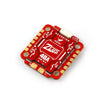
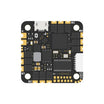
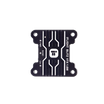
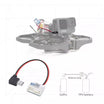
#4 ESC and FC Wiring
-
Solder the ESCs to your power distribution board or the FC if it has built-in PDB.
-
Connect the signal wires from the ESCs to the appropriate pads on the FC.
-
Take your time here — this step is the heart of the wiring process.
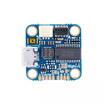
#5 Mount the Flight Controller
Use vibration-dampening gummies or pads. Connect your FC to the ESC, receiver, camera, and VTx. Double-check everything. A wiring mistake here can fry a component.
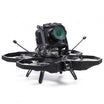
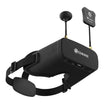
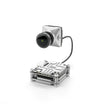
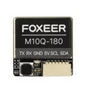
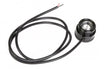
#6 Set Up FPV Gear
-
Mount the FPV camera on the front using tilt brackets (around 20–30° angle for beginners).
-
Wire the camera to your VTx.
-
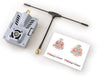
Mount your VTx somewhere it gets airflow (they get hot).
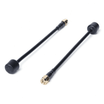
-
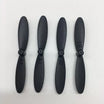
Attach your antenna and make sure it’s clear of propellers.
Also read: InsideFPV’s high altitude drones redefining aerial limits
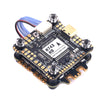
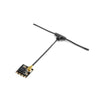
#7 Connect the Receiver
Install your receiver and bind it to your transmitter. Antenna placement is key — use heat-shrink and zip ties to keep them angled away from carbon parts for better signal.
#8 Configuration Time
Here’s where your drone gets its “personality.”
-
Connect to Betaflight Configurator (or INAV, depending on your FC)
-
Flash firmware and configure the board orientation
-
Calibrate the accelerometer
-
Assign modes (Angle, Horizon, Acro)
-
Set up the arm switch
-
Test motor directions (remove props first!)
-
Calibrate ESCs (usually done through the configurator)
#9 Pre-Flight Checklist
Before you scream into the sky, do a few sanity checks:
-
Props are installed correctly (CW/CCW)
-
Battery voltage is correct.
-
Video feed is clear and stable.
-
GPS (if using) has a lock.
-
Arm switch works and disarms quickly.
-
Range test your transmitter.
-
Keep a fireproof bag for charging LiPo batteries!
#10 Tuning & Testing
Your first flight should be low and slow. Listen for strange vibrations or twitchy responses.
As you get comfortable:
-
Adjust PID values for tighter control (use Blackbox logs or presets).
-
Change rates in Betaflight to suit your stick feel.
-
Upgrade to 6S (if your gear supports it) for more power.
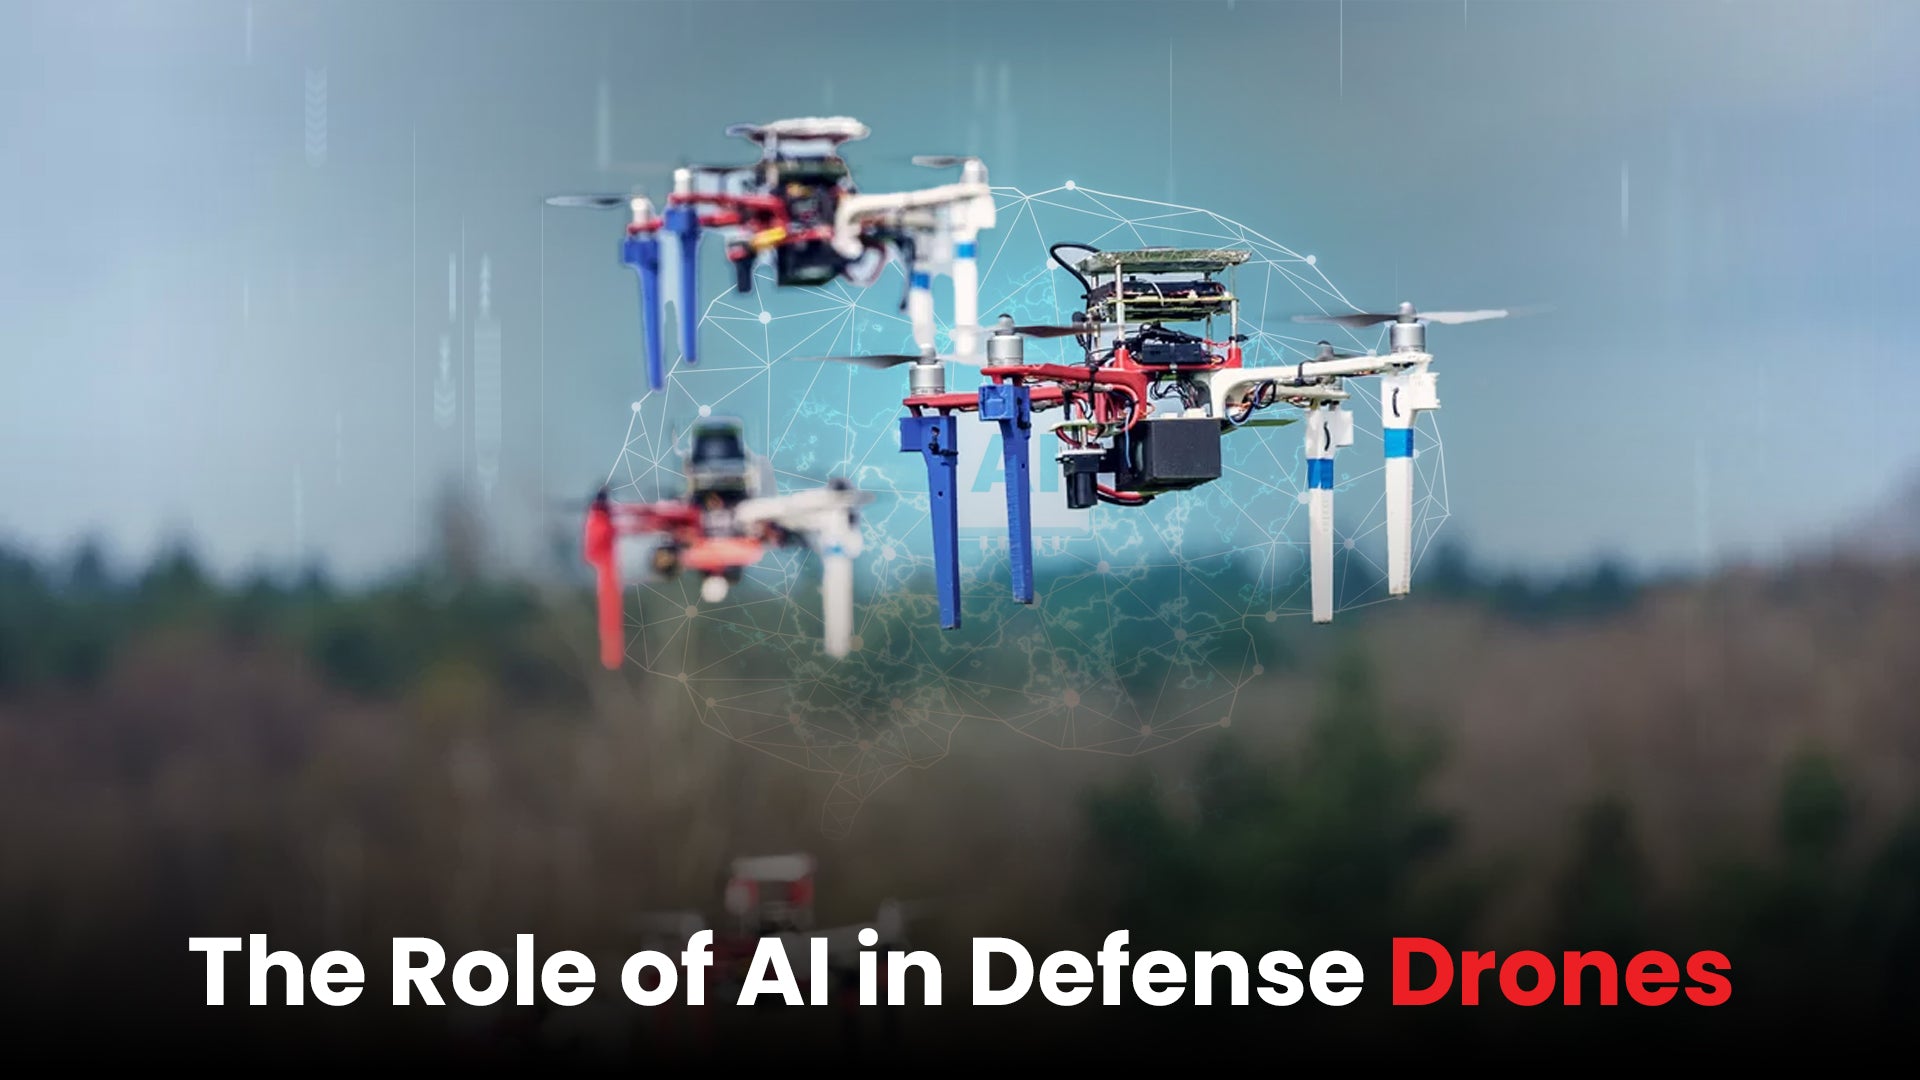
Also read: Top 10 most advanced military drones in the world
Building your first FPV drone might feel overwhelming — and yeah, you’ll probably make mistakes. But that’s how every great pilot started. When you take off for the first time and see through your drone’s “eyes,” it’s a feeling you won’t forget.
FAQs
Who made the Garuda drone?
The Garuda drone was developed by the Indian defense technology company, Garuda Aerospace. It specializes in manufacturing drones for a variety of applications, including surveillance, agriculture, and defense, focusing on high-performance and cost-effective solutions.
Who is the largest military drone manufacturer?
The largest military drone manufacturer is General Atomics, known for its Predator and Reaper drones. The company dominates the market for unmanned aerial systems (UAS) used in military surveillance, intelligence, and targeted strikes worldwide.
Why are UAVs so expensive?
UAVs are expensive due to their advanced technology, high-quality materials, precision engineering, and research & development costs. Additional expenses include manufacturing, specialized components like sensors and cameras, and regulatory compliance, all contributing to their high price.
